
How to screenshot on windows
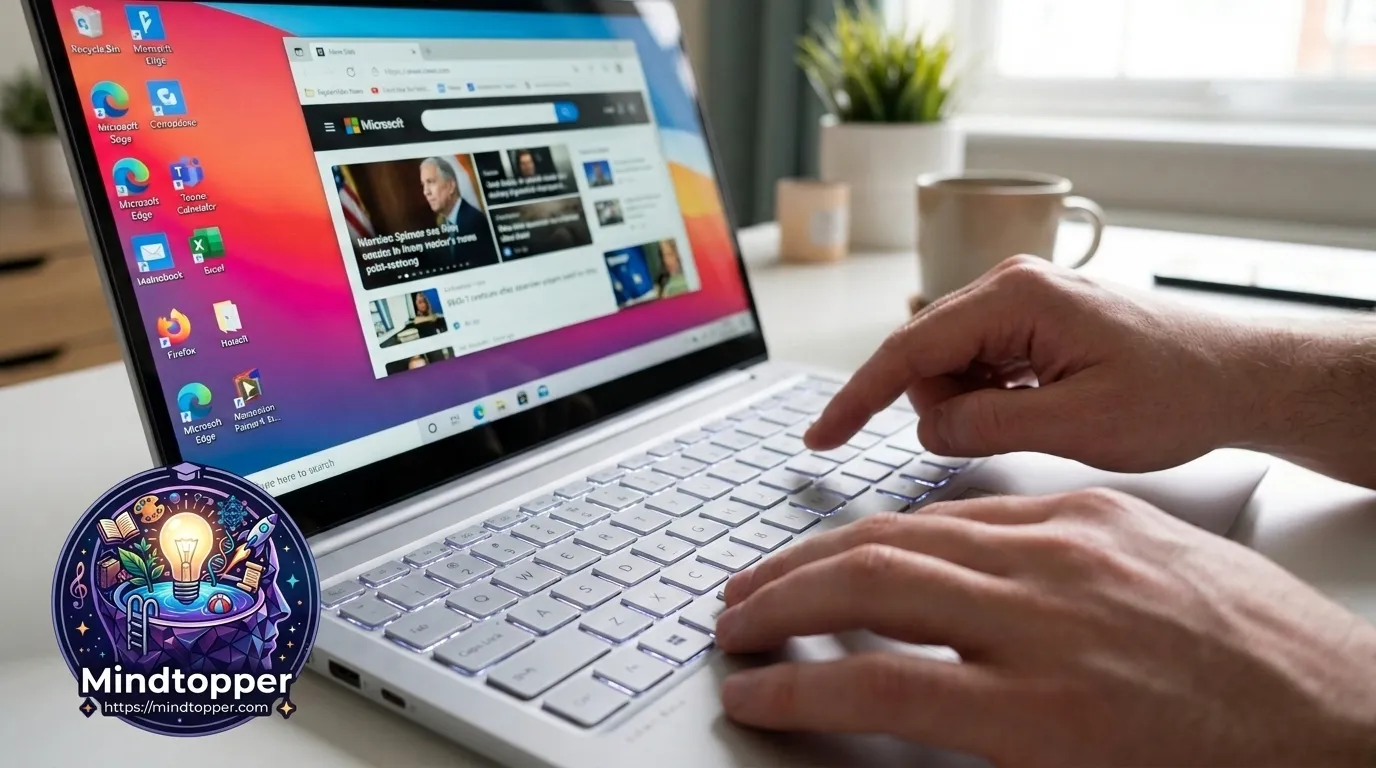
Introduction to Taking Screenshots on Windows
In the digital age, knowing how to screenshot on Windows is an essential skill for professionals, students, and casual users alike. Whether you need to capture a bug report for technical support, save a receipt from an online purchase, or share a funny meme with a friend, Windows offers several built-in tools that make the process seamless. Over the years, Microsoft has evolved these tools from a simple 'Print Screen' function to a robust 'Snipping Tool' that allows for precise editing and annotation. In this comprehensive guide, we will explore every method available in Windows 10 and Windows 11 to help you capture your screen like a pro.

Method 1: The Snipping Tool (Windows + Shift + S)
The most versatile and recommended way to take a screenshot on modern Windows systems is by using the Snipping Tool shortcut. By pressing Windows Logo Key + Shift + S, your screen will dim, and a small toolbar will appear at the top. This tool allows you to choose from four different types of snips:
- Rectangular Snip: Draw a box around the specific area you want to capture.
- Free-form Snip: Draw any shape around an object.
- Window Snip: Select a specific window (like a browser or folder) to capture.
- Full-screen Snip: Captures the entire display.
Once the screenshot is taken, it is automatically saved to your clipboard, and a notification appears. Clicking the notification opens the Snipping Tool editor, where you can crop, highlight, or draw on the image before saving it as a PNG or JPG file.
Method 2: The Print Screen Key (PrtScn)
The Print Screen (PrtScn) key is the classic method that has existed for decades. On most keyboards, pressing this key captures the entire screen and copies it to your clipboard. However, it does not automatically save the image as a file. You must open an image editor like Microsoft Paint or a document like Word and press Ctrl + V to paste it. For users who want the PrtScn key to launch the Snipping Tool automatically, you can go to Settings > Accessibility > Keyboard and toggle on 'Use the Print Screen button to open screen snipping'.
Method 3: Windows Key + Print Screen (Auto-Save)
If you want to capture your entire screen and have it saved instantly as a file, use the Windows Key + PrtScn shortcut. When you press these keys together, the screen will briefly dim to indicate a successful capture. Windows automatically saves these images in a dedicated folder located at C:\Users\[YourUsername]\Pictures\Screenshots. This is the fastest method when you need to take multiple screenshots in quick succession without manual saving.
Method 4: Alt + Print Screen (Active Window Only)
Sometimes you don't want to share your entire desktop, including your taskbar or other open apps. To capture only the currently active window, press Alt + PrtScn. This copies the active window to your clipboard. Like the standard PrtScn method, you will need to paste this into an application to view or save it. This is particularly useful for creating tutorials or documentation where focus on a single software interface is required.
Method 5: Xbox Game Bar (Windows + G)
Primarily designed for gamers, the Xbox Game Bar is a powerful tool for capturing both screenshots and video. By pressing Windows + G, you open the overlay. Within the 'Capture' widget, you can click the camera icon to take a screenshot. This method is excellent because it works even while you are inside a full-screen application or game where other shortcuts might fail. The captures are saved in the 'Videos/Captures' folder by default.
Managing and Editing Your Screenshots
Once you have captured your screen, Windows provides basic editing tools. The Snipping Tool includes a 'Ballpoint pen', 'Highlighter', and 'Image cropper'. If you need more advanced editing, such as adding text, arrows, or blurring sensitive information, you might consider third-party applications like ShareX or Lightshot. Additionally, if you use OneDrive, Windows may ask if you want to automatically save your screenshots to the cloud, ensuring you can access them from any device.
Frequently Asked Questions (FAQ)
How do I take a screenshot on Windows without the Print Screen key?
If your keyboard lacks a PrtScn key, you can use the Windows Key + Shift + S shortcut to open the Snipping Tool. Alternatively, you can search for 'Snipping Tool' in the Start menu and use the 'New' button to initiate a capture.
Where are my screenshots saved on Windows 11?
The location depends on the method used. Screenshots taken with Windows + PrtScn are saved in Pictures > Screenshots. Those taken with the Snipping Tool are usually copied to the clipboard and temporarily stored in the AppData\Local\Packages folder until manually saved.
Can I record my screen on Windows using these tools?
Yes, the modern Snipping Tool in Windows 11 now supports screen recording. Simply open the Snipping Tool, select the video camera icon, and click 'New'. You can also use Windows + Alt + R to start recording via the Xbox Game Bar.
Related Articles



Discussion (0)